Commonwealth Airmobile continue the push into Confederation territory. This time the Confederation is ready for them...
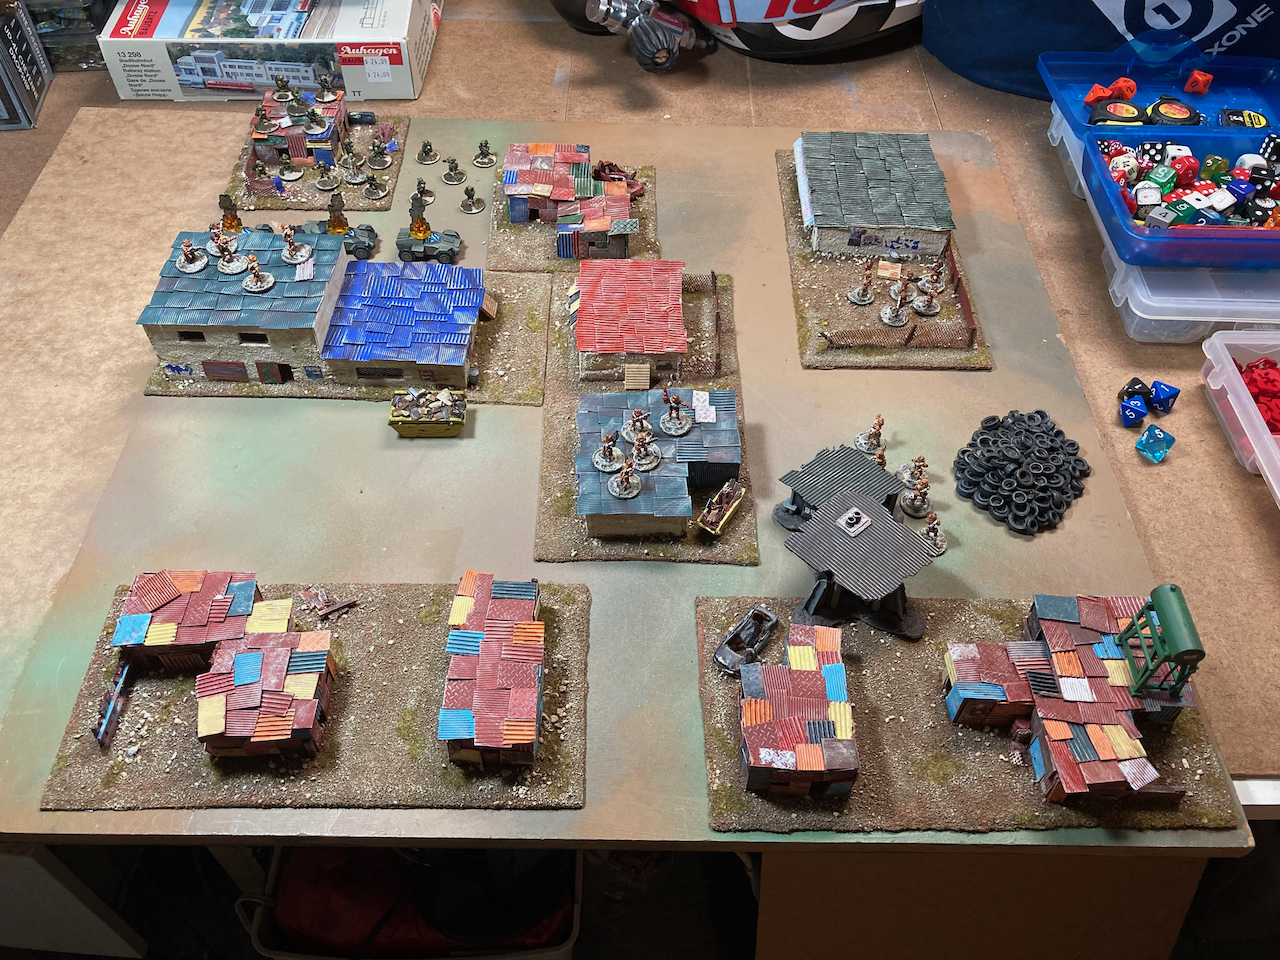
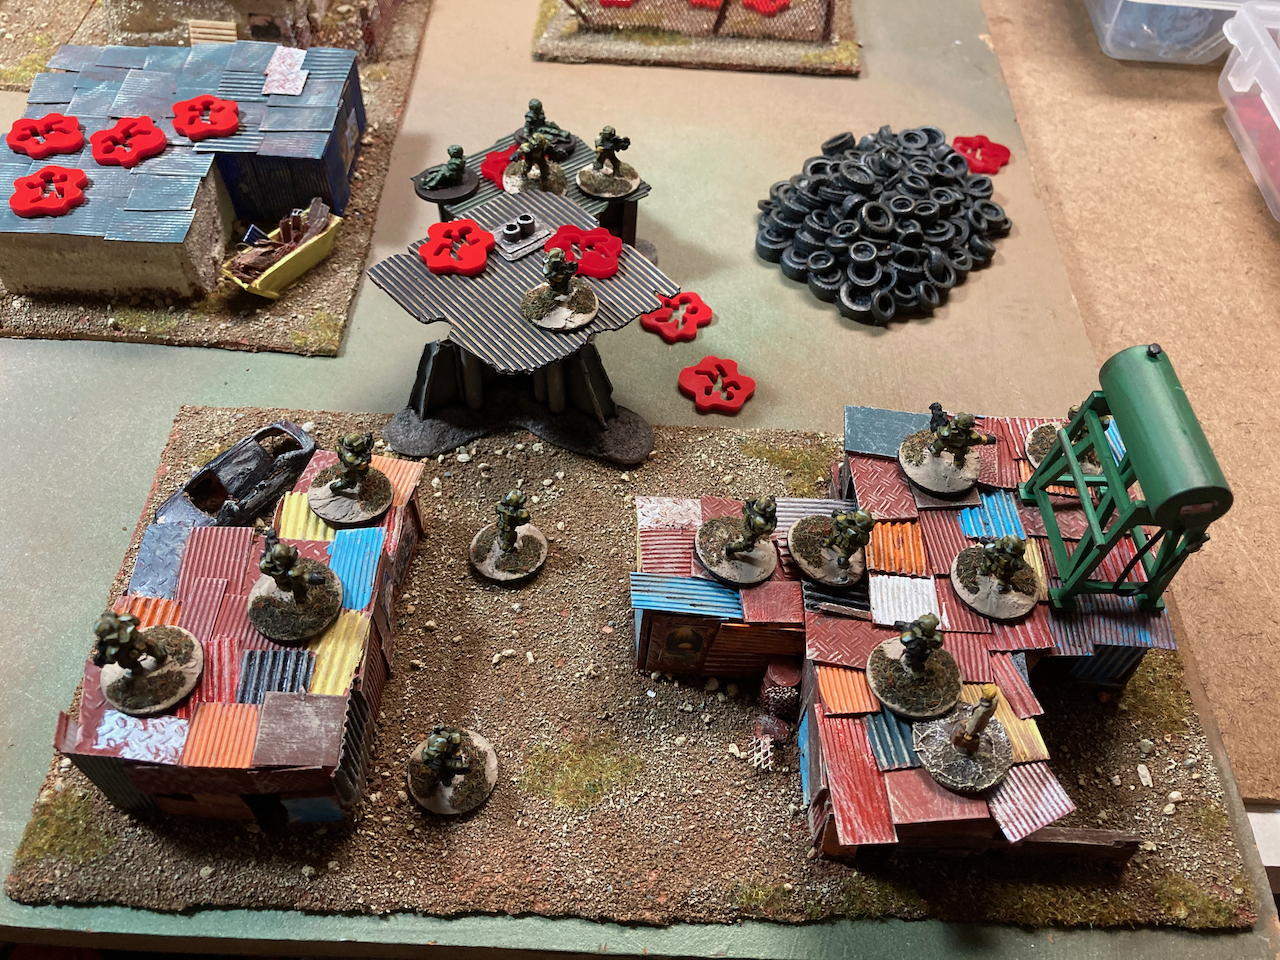
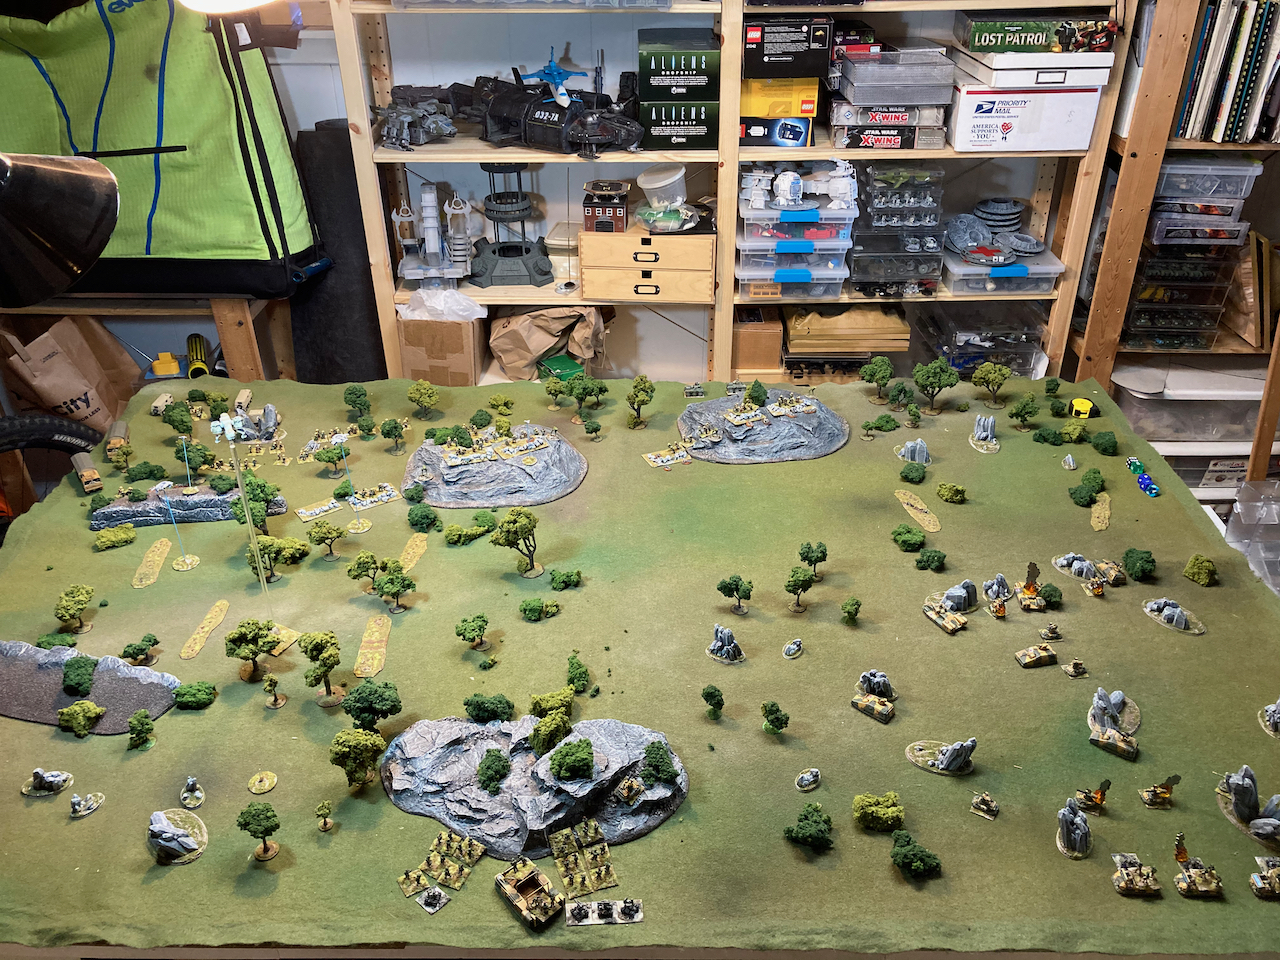
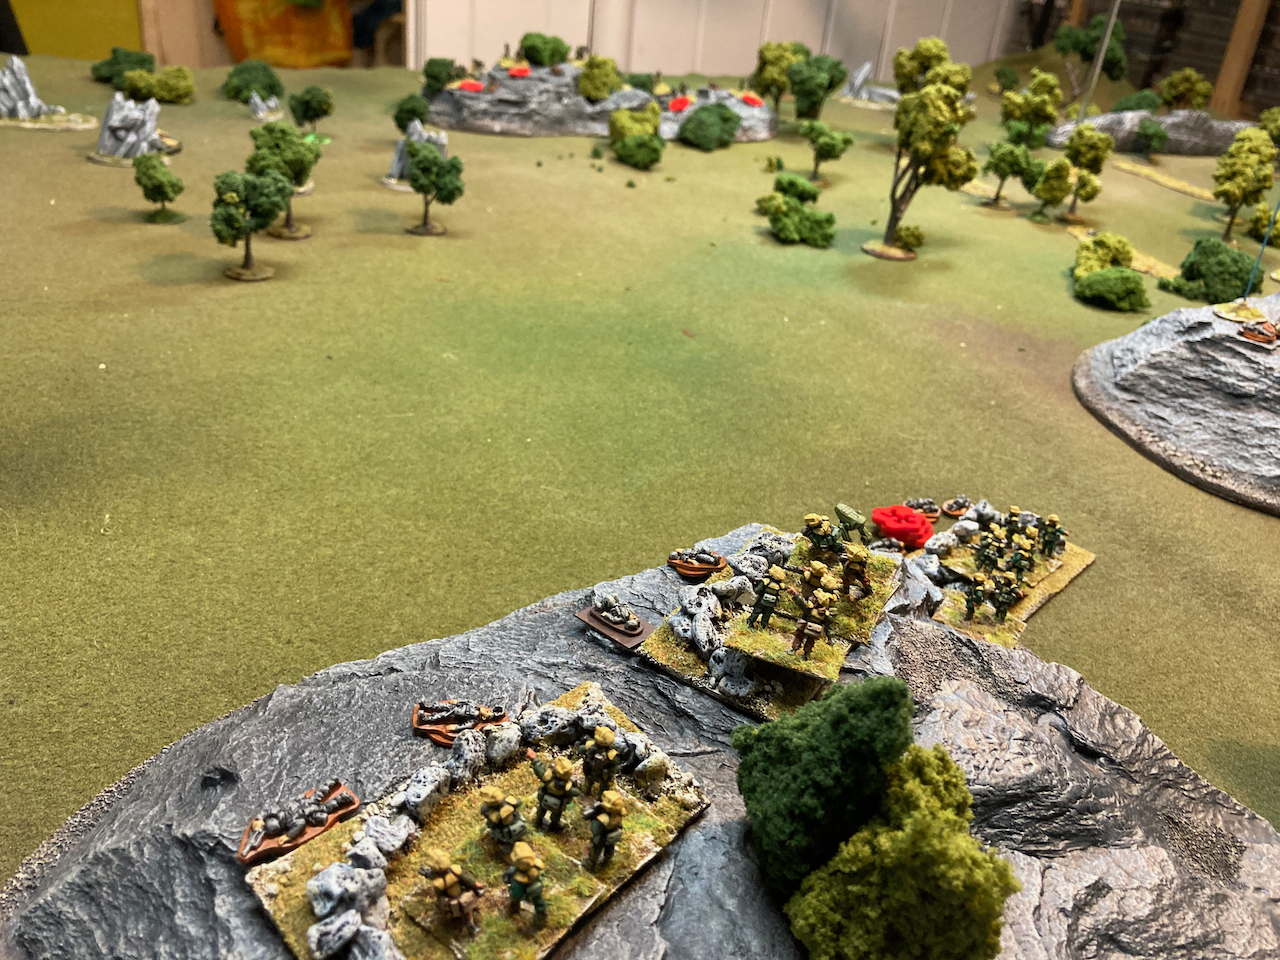
The confederation forces are well prepared with minefields laid and bunkers built.
Confederation Support units are dug into the bunkers
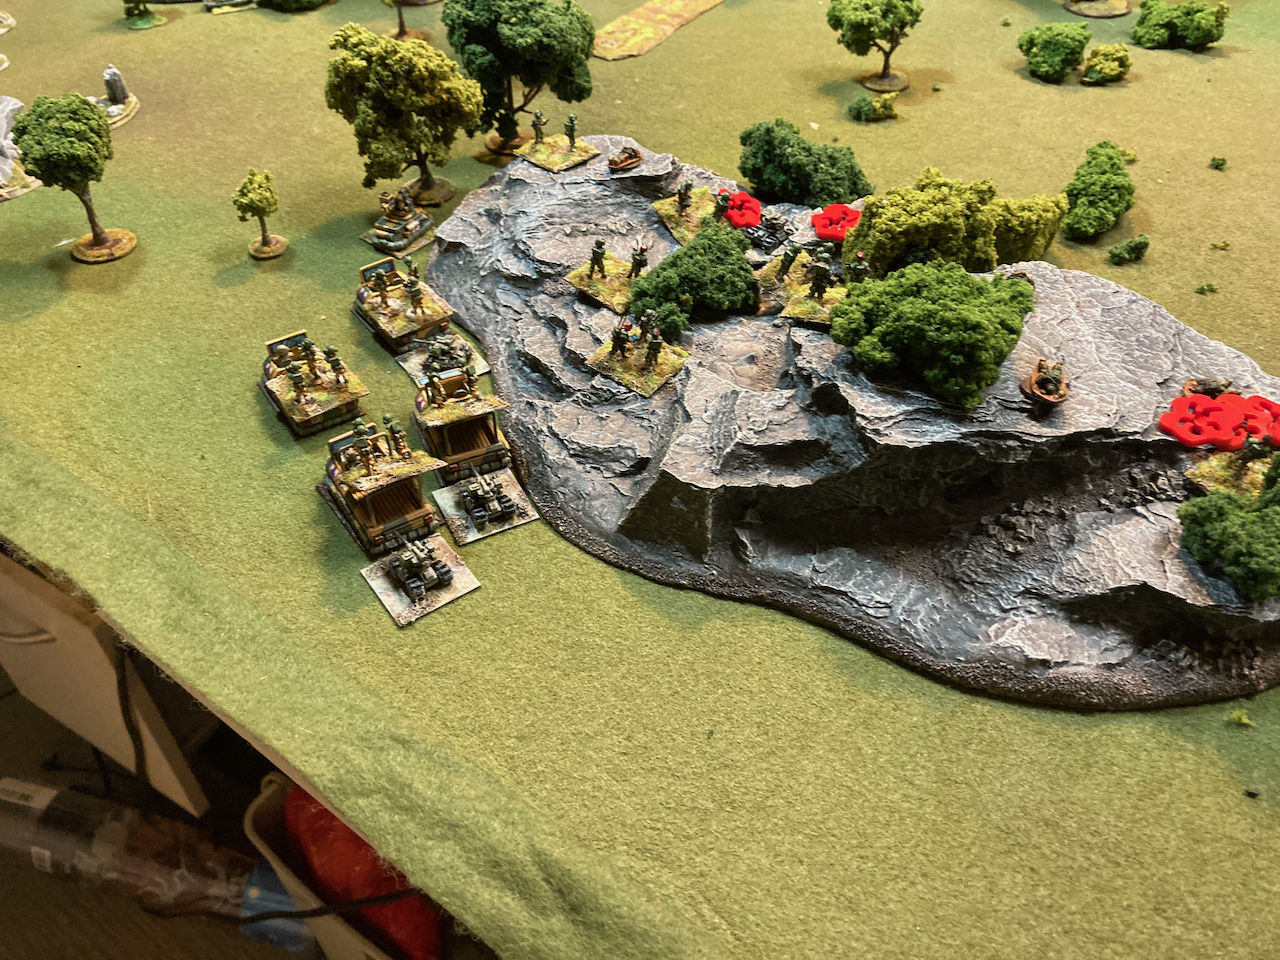
Infantry platoons line up behind the line ready to advance
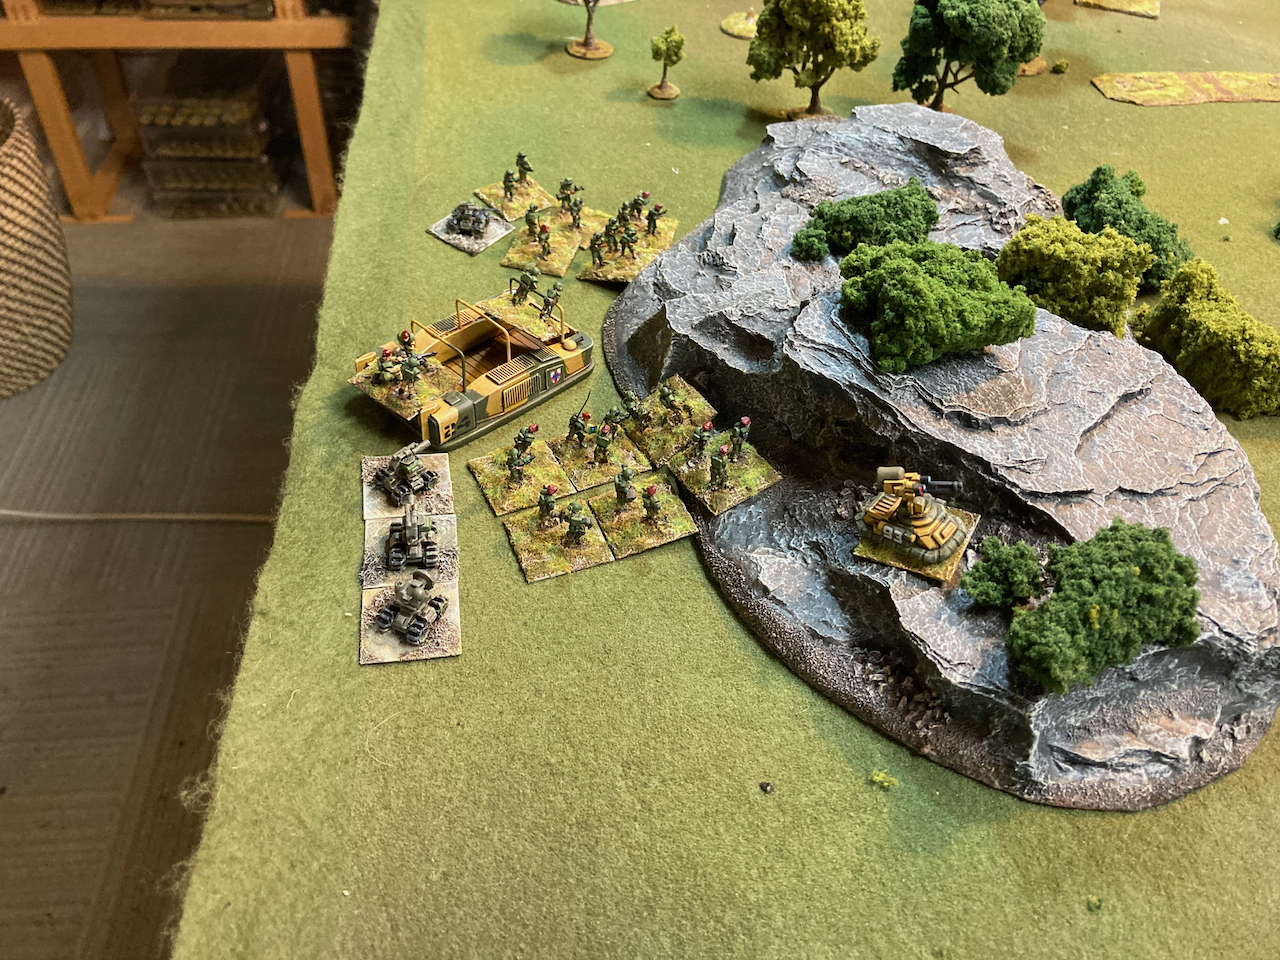
A second platoon advances after being dropped off from their trucks
A command unit with two attached recon vehicles
The Major in charge of this Op
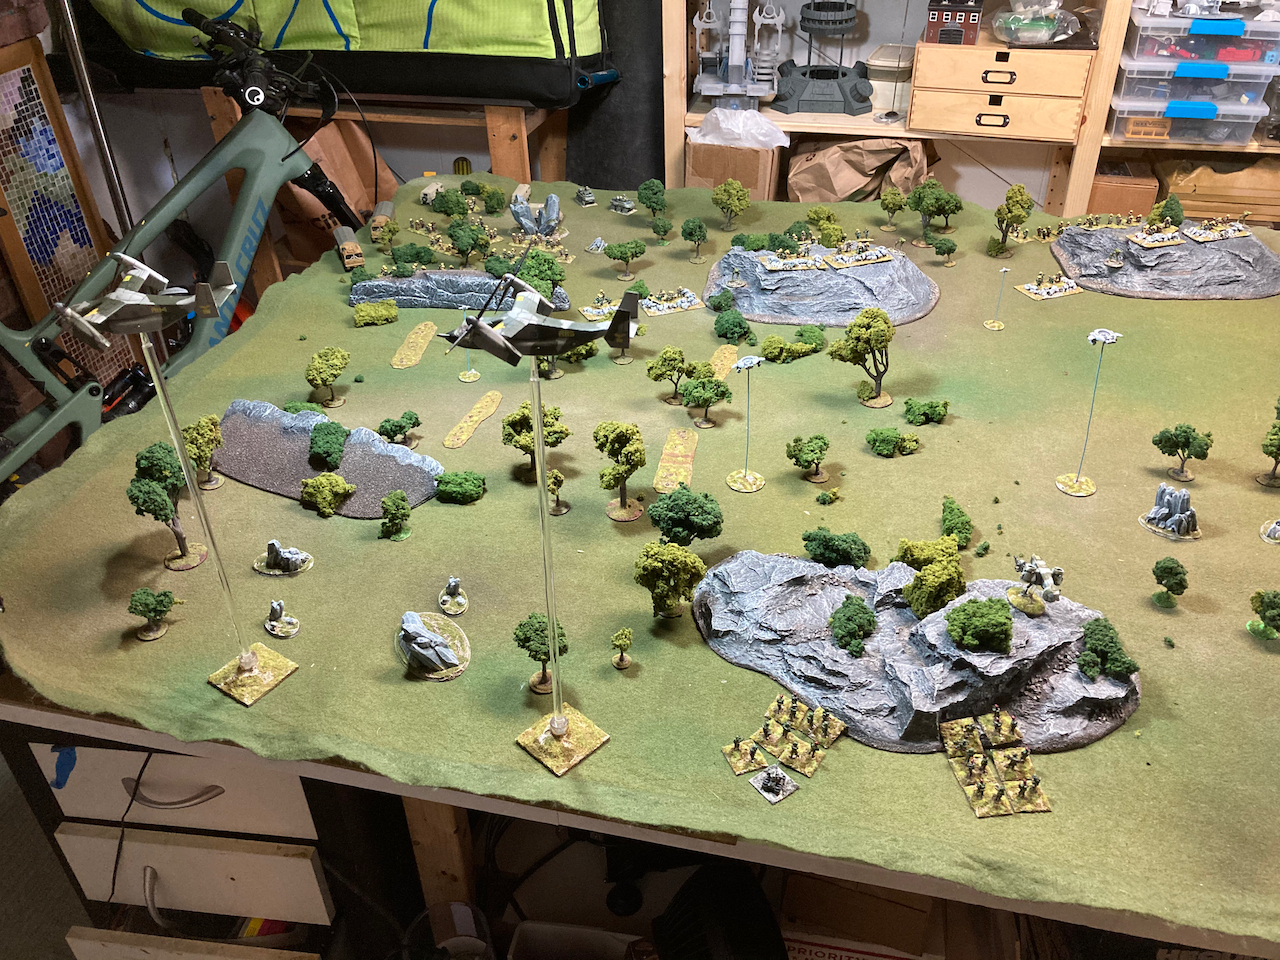
Off in the distance, the sound of VTOLS on the advance
Commonwealth VTOLs carry advance units forward
VTOLs pull NOE g's to stop behind a hill
The gunship and drones go on overwatch
Drones surge ahead to spot the Confederation forces
Go Go Go!
Infantry de-bus ASAP
The forward unit brings one gun drone with them
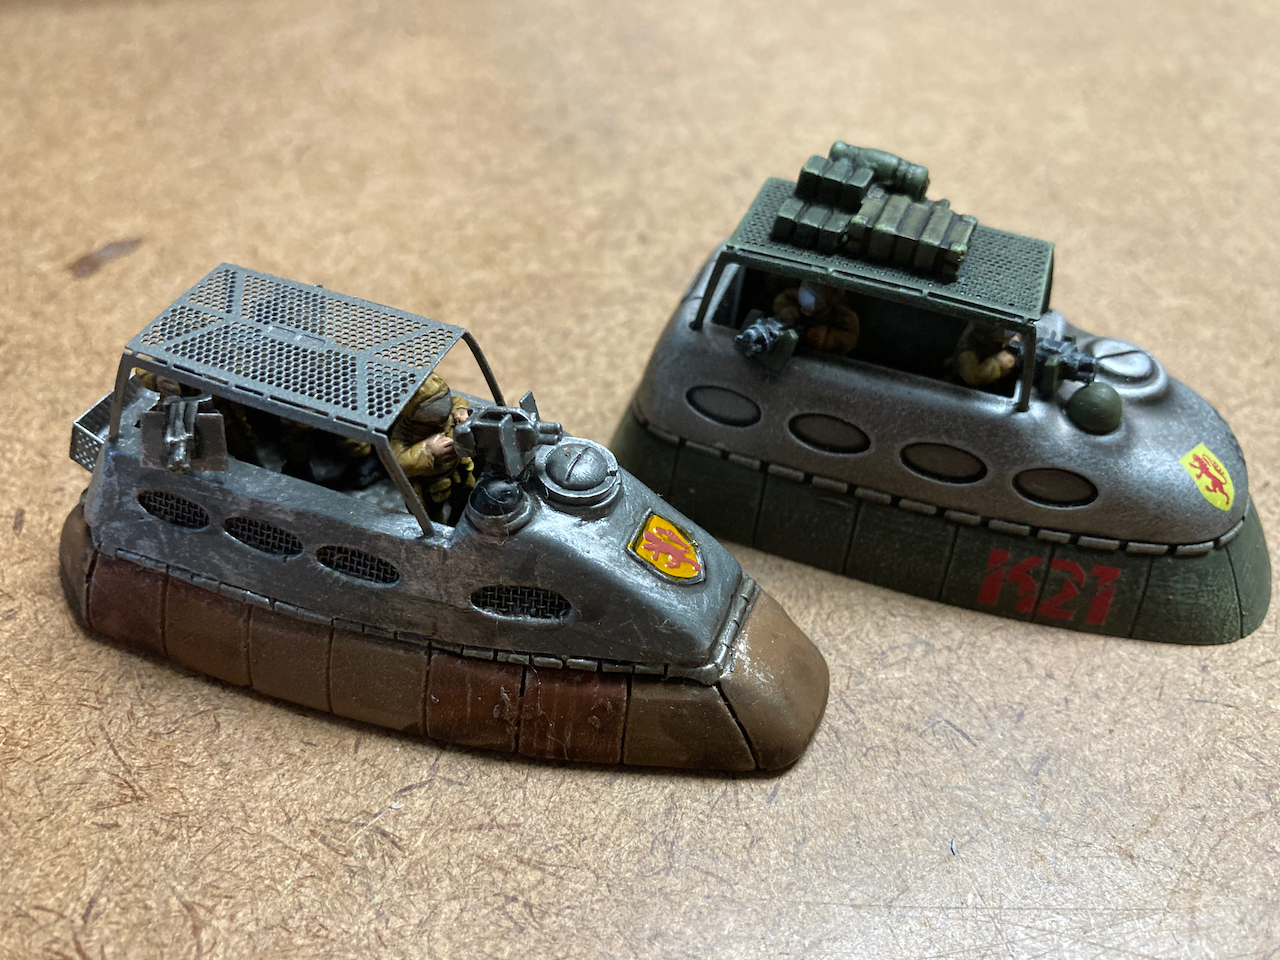
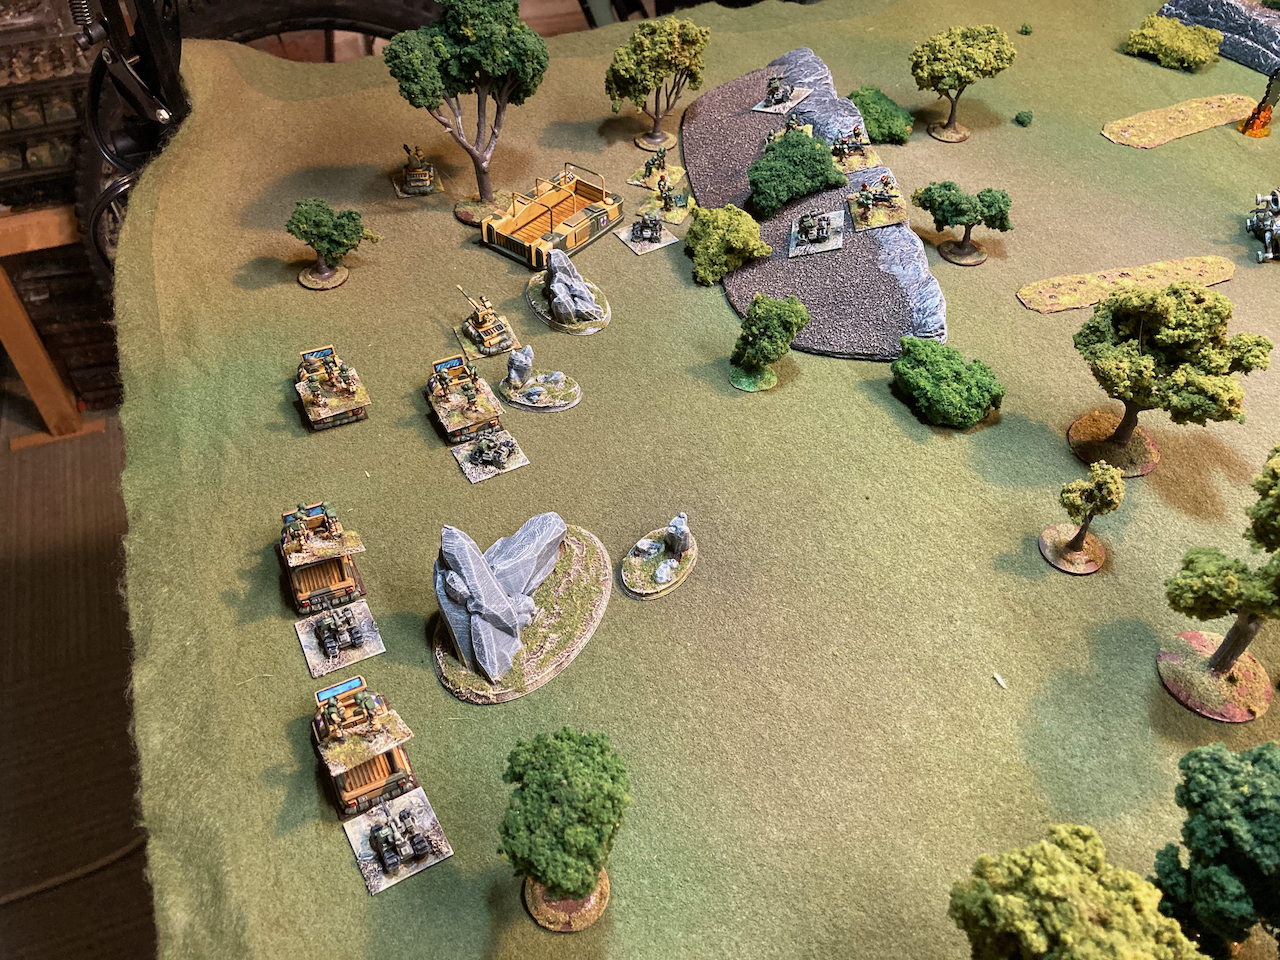
Lined up on the table edge (off-table) are the remaining Commonwealth units, starting with a light GEV-jeep mounted unit with drones
A GEV mounted command unit with more drones
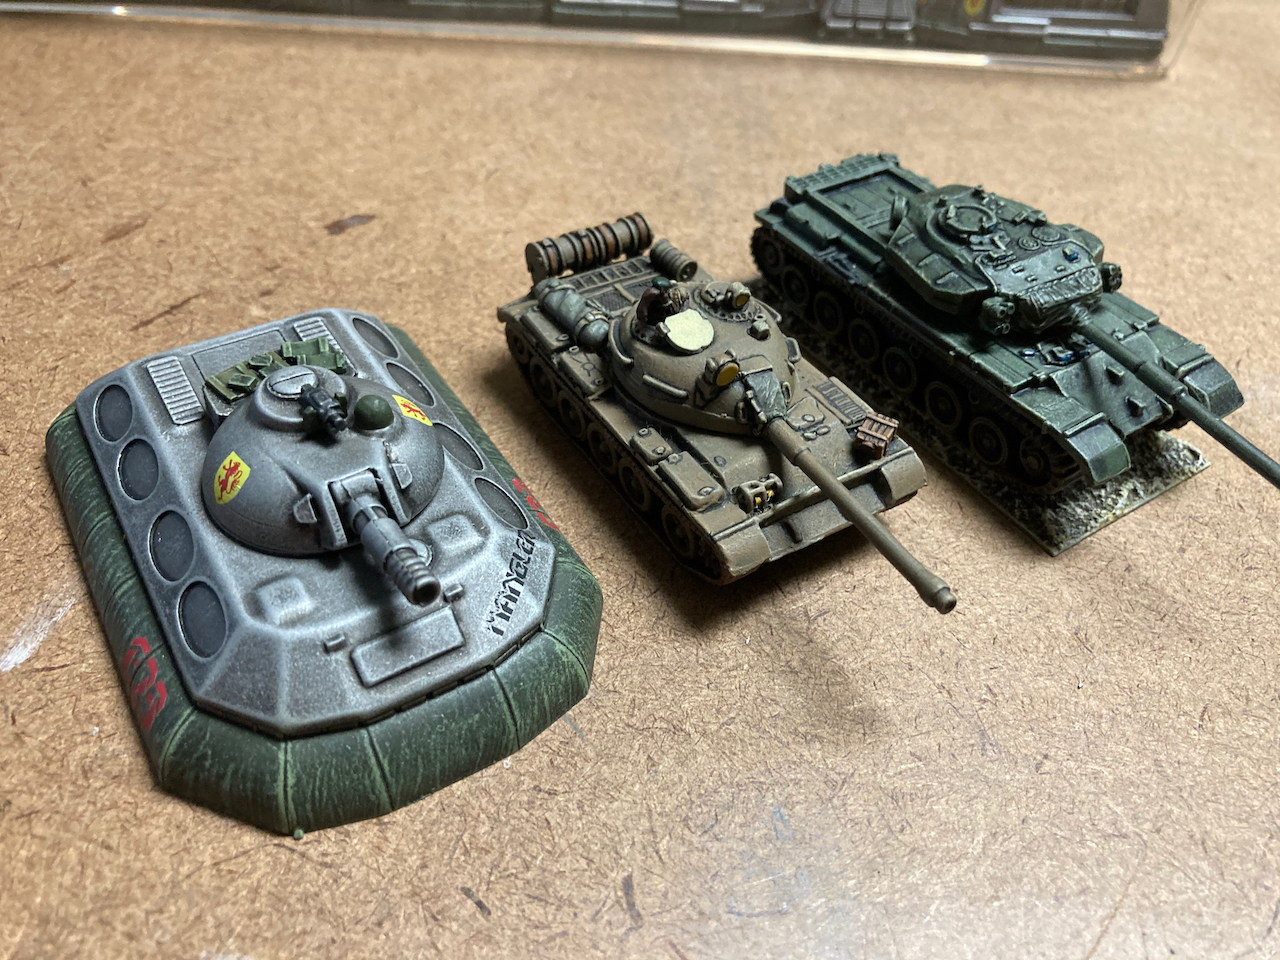
A light armour unit, and yup, more drones
VTOLs bug as soon as the squaddies de-bus
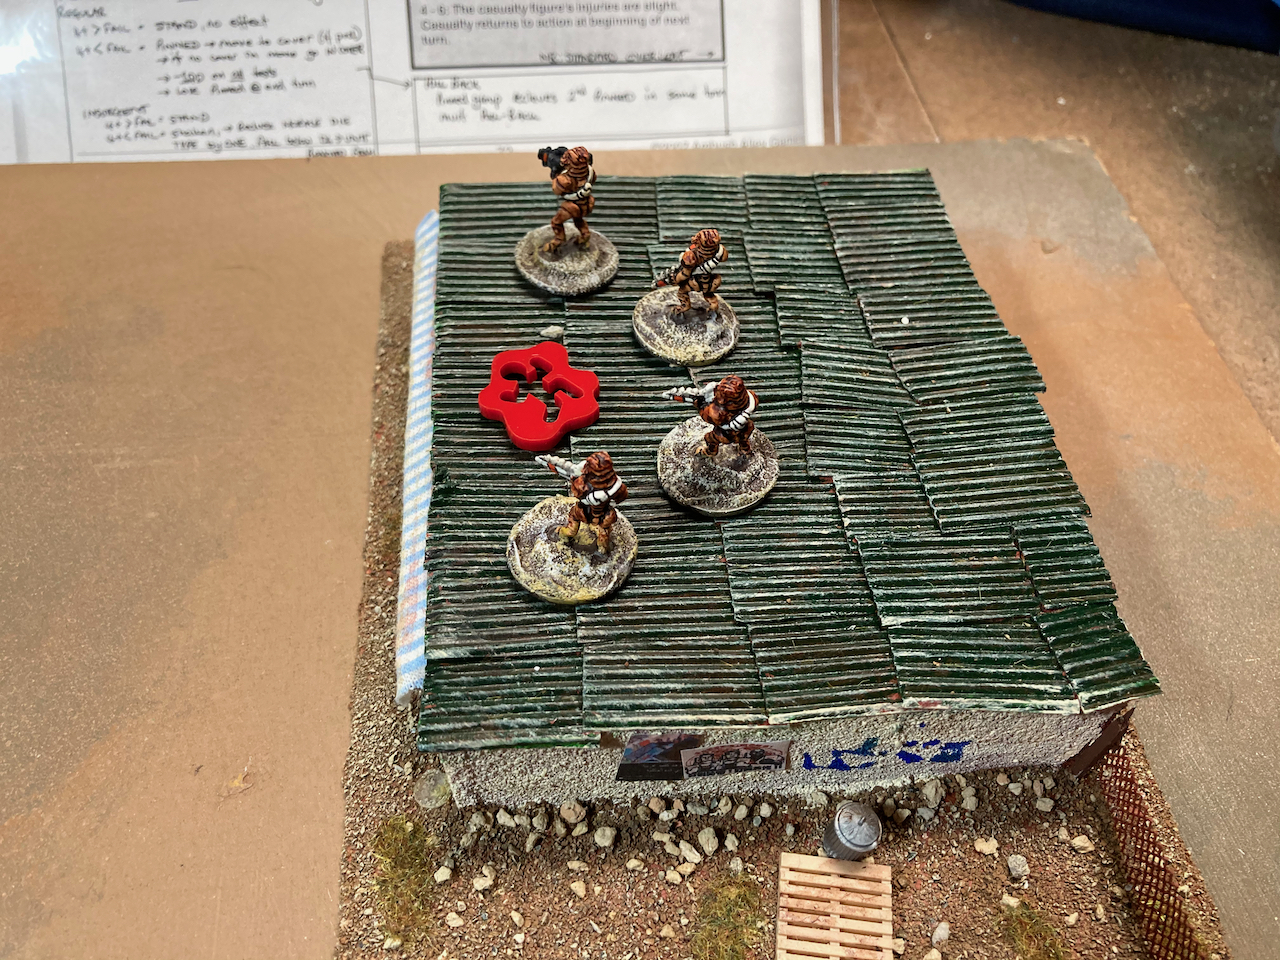
The gun team move into high-mode with weapons hot
First blood, the Confederation mortar unit is caught as it is digging in
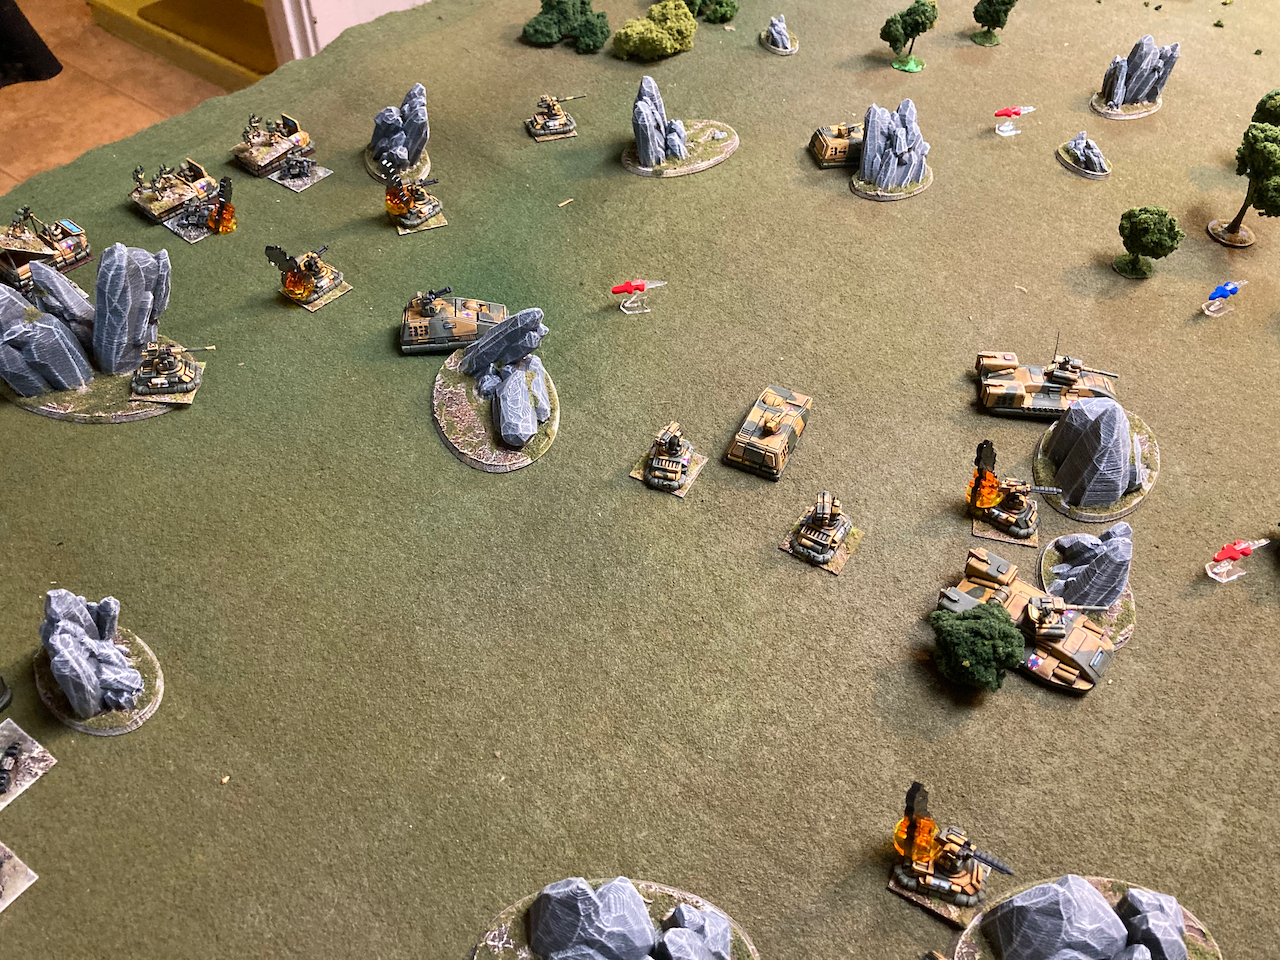
The light armour moves to screen the advance
Sensors start painting targets on the ridge line
Railguns score first hits
In return ATGMs target the armour
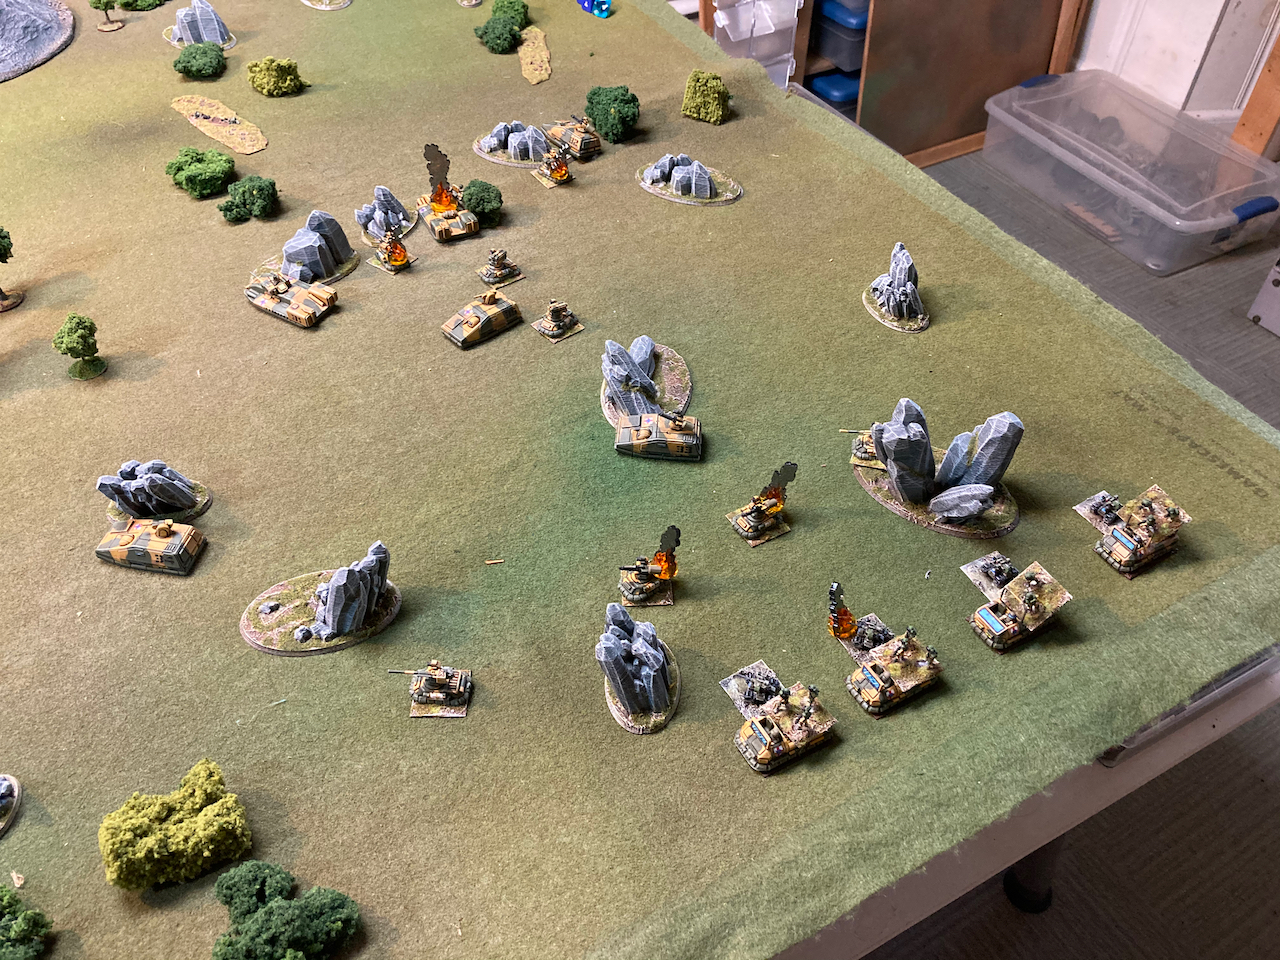
The GEV-unit dashed forwards using the drones as a screen (the small drones are squad level follow-me types so move with the unit, while the large ones are 'vehicles' like the Babouin drones from the HS Crucible rules)
Screening drones star sweeping for targets
Drone fire is fast and accurate, the leading Confederation unit takes a batterieng
The reserve infantry step up to cover the gaps
Forces on the other hill-line start taking hits too
Return fire is withering, the Confed heavies take out the lead drones
More fire destroys the screening drones
The Commonwealth command unit surges forwards, its own heavy drone moves to cover position
From it vantage point it can scour the whole ridge line
It uses the position well, inflicting more casualties on the Confed troops
The armoured cars from the Confed command unit dash to reinforce the flank
State of play at the end of the first turn
Commonwealth forces are looking a bit exposed
The coup-de-main forces could be decisive
On the Confed side the hills are still holding, the minefields are preventing the Commonwealth armour from rampaging across the board
The Confed still have a reserve platoon to get into the fray
On with the action, the Confed win initiative and let ATGMs fly
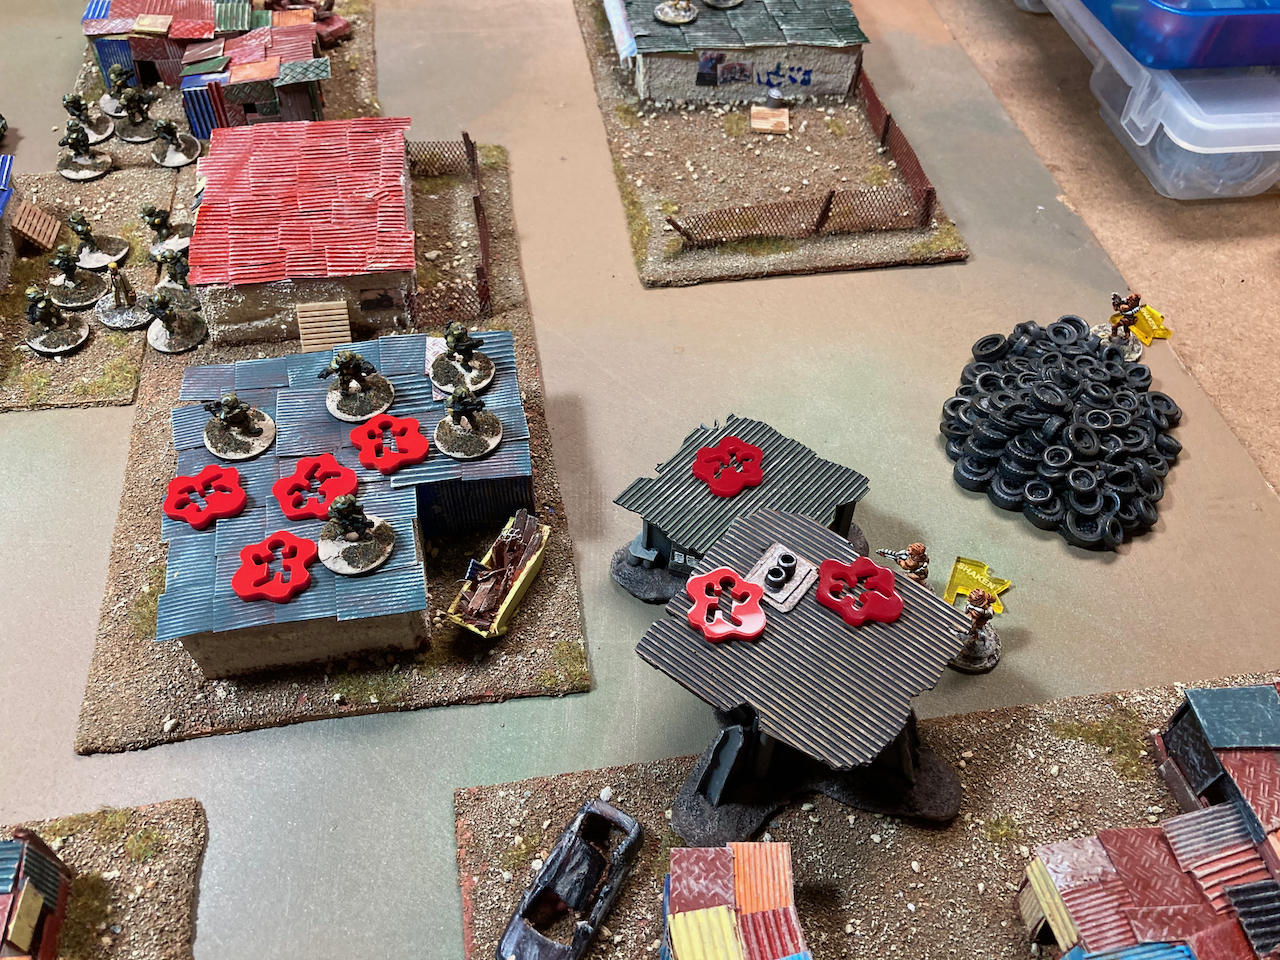
The Commonwealth platoon get into rocky cover and open up on the Confed forces
A huge volume of fire plays havoc with the Confed forces
Casualties and suppressions mount
In return the Confed pour fire into the hill
More Confed reserves feed forwards to cover gaps
The Commonwealth platoon is depleted
The reserve platoon pivots and redeploys
The reserves advance to counter the drones
The reserves shoot down al of the air-assets
The armour is forced to pull back to better cover
Even from cover their fire is telling
Confed troops on the hill are taking a pasting
The Confed armoured cars dash forwards to create havoc
Unfortunately their gunnery does not match their bravery, they miss, everything...
The command group dashes again and deploys the heavy weapons teams
Heavy auto-cannons range on the Confed ranks
End of the turn, the outcome is still undecided
Commonwealth win the initiative
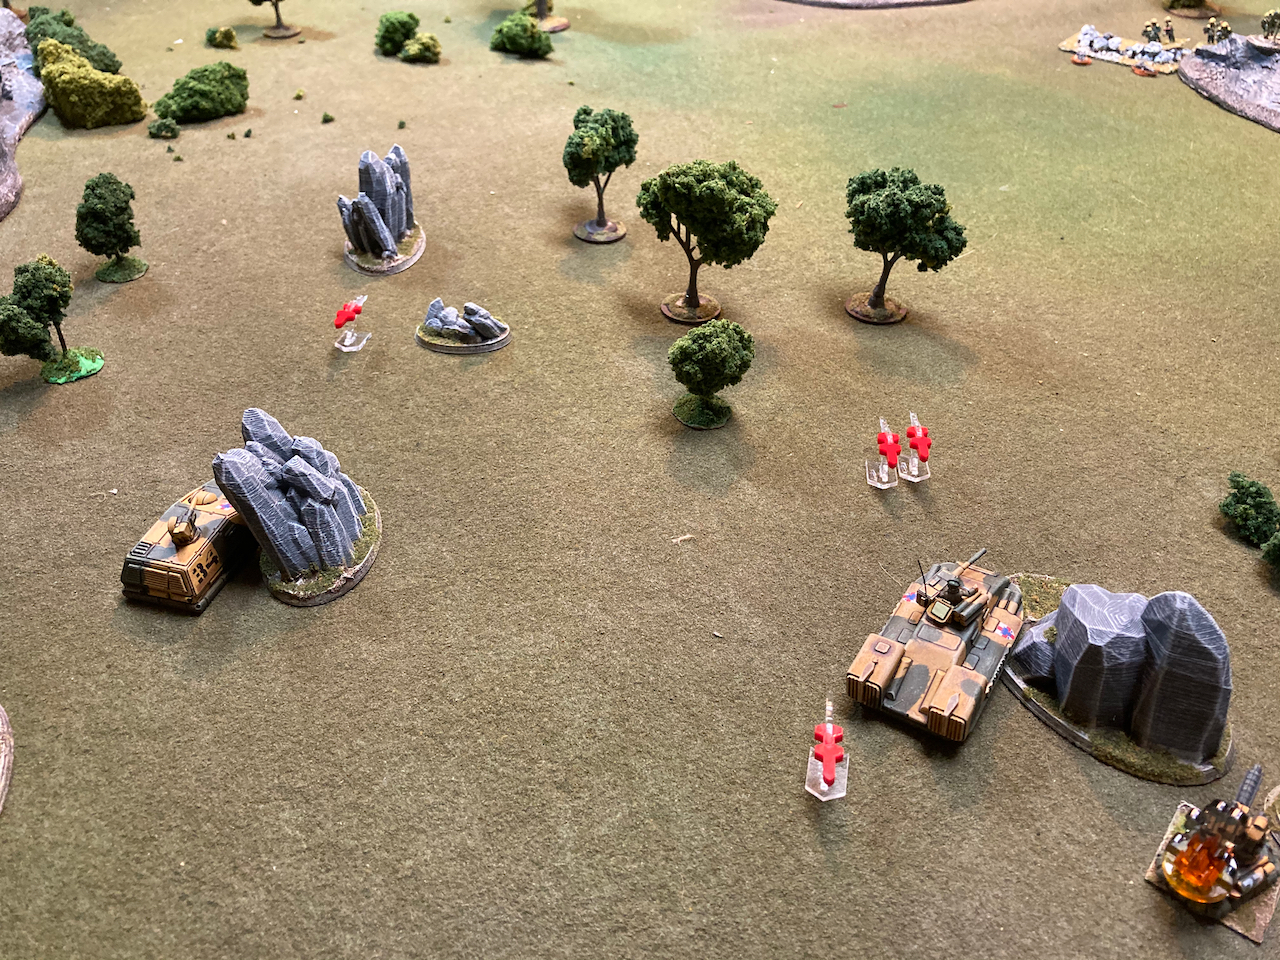
The armour redeploys to be able to engage the armoured cars
The armoured cars become ex-armoured cars, if only their gunnery was a bit better...
The advance units are getting seriously depleted
The gap is beginning to be a problem
The gev-unit moves forwards
Drones out in front ID targets
Ranging, ranging. And then and epiphany. Why am I shooting at infantry in bunkers, they are super hard to hit with anti-tank guns. So lets do something different
BOOM, let's target the bunker instead. All TUs in the bunker KO'd
Well that changed things a bit, and now there are less forces to move that turn went faster too
Confed gain the initiative and pull back the lead elements from the meat grinder of a hill
That gap is a big one to cross
The Commonwealth platoon keeps pouring out fire
Th central Confed unit now starts taking a battering
Morale starts suffering, with more casualties and fewer troops to fill the gaps the Confed starts puling back to consolidate its position
A Confed unit's morale breaks
They retreat in decent order
Things now swing in favour of the Commonwealth
The lead Confed positions are now empty
The Confed has lost all of its heavy support weapons and much of its Infantry. time to fall back while they still can
Commonwealth light armour pushes into the minefield gap. Railgun rounds and ATGMs pour into the bunkers destroying them
The GEv-unit surges across the gap
Teh Confed transports move to begin the retreat
The command unit wastes no time...
End of a quick turn, with the declining morale and degraded force capacity its game over for the Confederation, time to retreat before they have to surrender
Final stragglers are picked up
The Confed defenses are destroyed
Commonwealth armour nears the gap
The lead units begin the next leap-frog
The Commonwealth airmobile continue to push forwards, but their forces are now depleted. Time to slow down, refit and tend their wounded. The Commonwealth Maneuver Group forces can now catch up and take on the advance.
Whew, a that was a big game, it was fun to dig out a couple of company-size forces and play a huge game. What I quickly saw was that the larger infantry units become bogged down easily, as casualties mount and they loose APs they become difficult to redeploy. The mounted troops then have a significant advantage.
Mmmm, perhaps Hammer and his skimmer mounted infantry are on to something there?